Leads Management Software Tool
All in one production ready software for managing leads and clients.
Introduction
- Item Name : Leads Management Software
- Item Version : 1.0
- Author : V1 Technologies
- License : Single License
First of all, Thank you so much for purchasing this template and for being our loyal customer. You are awesome!
This documentation is to help you regarding each step of the installation. Please go through the documentation carefully to understand how to set up the code and get everything running smoothly. We have tried our best to document each and every steps for any beginners or with intermediate expertise to get the app up and running.
Requirements
You will need the following sofwares to customize this template.
- Code Editing Software (eg: Visual Studio Code , Sublime Text or Notepad Plus)
- Web Browser for testing (eg: Google Chrome or Mozilla Firefox)
- FTP Tool to upload files to Server (eg: FileZilla)
We assume you to have some basic knowlege of programing or development to get this up and running. How ever we made every attempt to document all steps to get you going. Please note that this software was built using PHP Codeigniter and may require additional support or skills for that.
If you need more detailed Step-By-Step guide, please click here Step-by-Step-Installation-Guide.pdf
Demo Walkthrough
Demo
The software demo can be viewed here https://leads.v1tl.com
Username: admin@demo.com
Password: demo123
Getting Started
Pre-requesties for setting up backend server
How To Install Linux, Nginx, MySQL, PHP (LEMP stack) on Ubuntu 18.04
Introduction
The LEMP software stack is a group of software that can be used to serve dynamic web pages and web applications. This is an acronym that describes a Linux operating system, with an Nginx (Pronounced like “Engine-X”) web server. The backend data is stored in the MySQL database and the dynamic processing is handled by PHP.
This guide demonstrates how to install a LEMP stack on an Ubuntu 18.04 server. The Ubuntu operating system takes care of the first requirement. We will describe how to get the restof the components up and running.
Prerequisites
Before you complete this tutorial, you should have a regular, non-root user account on your server with sudo privileges. Set up this account by completing our initial server setup guide for Ubuntu 18.04.
Once you have your user available, you are ready to begin the steps outlined in this guide.
Step 1 - Installing the Nginx Web Server
In order to display web pages to our site visitors, we are going to employ Nginx, a modern, efficient web server.
All of the software used in this procedure will come from Ubuntu’s default package repositories. This means we can use the apt package management suite to complete the necessary installations.
Since this is our first time using apt for this session, start off by updating your server’s package index. Following that, install the server:
                                                $ ssh root@ip
                                                $ sudo apt update
                                                $ sudo apt install nginx
On Ubuntu 18.04, Nginx is configured to start running upon installation.
If you have the ufw firewall running, as outlined in the initial setup guide, you will need to allow connections to Nginx. Nginx registers itself with ufw upon installation, so the procedure is rather straightforward.
It is recommended that you enable the most restrictive profile that will still allow the traffic you want. Since you haven’t configured SSL for your server in this guide, you will only need to allow traffic on port 80.
Enable this by typing:
                                $ sudo ufw enable
                                $ sudo ufw allow 'Nginx HTTP'
                                $ sudo ufw allow ssh
                                $ sudo ufw allow http
                                $ sudo ufw allow https
You can verify the change by running:
$ sudo ufw status
This command’s output will show that HTTP traffic is allowed:
									Output
									status: active

										To                    Action            From
										--                    ------            ------
										openSSH               ALLOW             Anywhere
										Nginx HTTP            ALLOW             Anywhere
										OpenSSH (v6)          ALLOW             Anywhere (v6)
                                        Nginx HTTP (v6)       ALLOW             Anywhere (v6)
With the new firewall rule added, you can test if the server is up and running by accessing your server’s domain name or public IP address in your web browser.
If you do not have a domain name pointed at your server and you do not know your server’s public IP address, you can find it by running the following command:
$ ip addr show eth0 | grep inet | awk '{ print $2; }' | sed 's/\/.*$//'
This will print out a few IP addresses. You can try each of them in turn in your web browser.
As an alternative, you can check which IP address is accessible, as viewed from other locations on the internet:
$ curl -4 icanhazip.com
Type the address that you receive in your web browser and it will take you to Nginx’s default landing page:
http://server_domain_or_IP
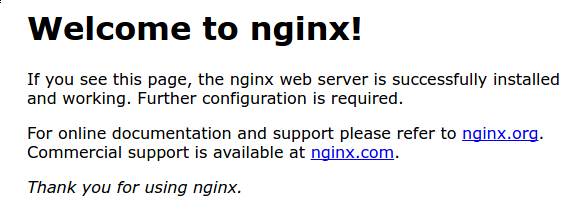
If you see the above page, you have successfully installed Nginx.
Step 2 – Installing MySQL to Manage Site Data
Now that you have a web server, you need to install MySQL (a database management system) to store and manage the data for your site.
Install MySQL by typing:
$ sudo apt install mysql-server
The MySQL database software is now installed, but its configuration is not yet complete.
To secure the installation, MySQL comes with a script that will ask whether we want to modify some insecure defaults. Initiate the script by typing:
$ sudo mysql_secure_installation
This script will ask if you want to configure the VALIDATE PASSWORD PLUGIN.
Answer Y for yes, or anything else to continue without enabling.
							VALIDATE PASSWORD PLUGIN can be used to test passwords
							and improve security. It checks the strength of password
							and allows the users to set only those passwords which are
							secure enough. Would you like to setup VALIDATE PASSWORD plugin?
                            Press y|Y for Yes, any other key for No:
If you’ve enabled validation, the script will also ask you to select a level of password validation. Keep in mind that if you enter 2 – for the strongest level – you will receive errors when attempting to set any password which does not contain numbers, upper and lowercase letters, and special characters, or which is based on common dictionary words.
							There are three levels of password validation policy:
							LOW    Length >= 8
							MEDIUM Length >= 8, numeric, mixed case, and special characters
							STRONG Length >= 8, numeric, mixed case, special characters and dictionary
                            Please enter 0 = LOW, 1 = MEDIUM and 2 = STRONG: 1
Next, you’ll be asked to submit and confirm a root password:
							Please set the password for root here.
							New password:
                            Re-enter new password:
For the rest of the questions, you should press Y and hit the ENTER key at each prompt. This will remove some anonymous users and the test database, disable remote root logins, and load these new rules so that MySQL immediately respects the changes we have made.
Note that in Ubuntu systems running MySQL 5.7 (and later versions), the root MySQL user is set to authenticate using the auth_socket plugin by default rather than with a password. This allows for some greater security and usability in many cases, but it can also complicate things when you need to allow an external program (e.g., phpMyAdmin) to access the user.
If using the auth_socket plugin to access MySQL fits with your workflow, you can proceed to Step 3. If, however, you prefer to use a password when connecting to MySQL as root, you will need to switch its authentication method from auth_socket to mysql_native_password. To do this, open up the MySQL prompt from your terminal:
$ sudo mysql
Next, check which authentication method each of your MySQL user accounts use with the following command:
mysql> SELECT user,authentication_string,plugin,host FROM mysql.user;
							Output
							+------------------+-------------------------------------------+-----------------------+-----------+
							| user             | authentication_string                     | plugin                | host      |
							+------------------+-------------------------------------------+-----------------------+-----------+
							| root             |                                           | auth_socket           | localhost |
							| mysql.session    | *THISISNOTAVALIDPASSWORDTHATCANBEUSEDHERE | mysql_native_password | localhost |
							| mysql.sys        | *THISISNOTAVALIDPASSWORDTHATCANBEUSEDHERE | mysql_native_password | localhost |
							| debian-sys-maint | *CC744277A401A7D25BE1CA89AFF17BF607F876FF | mysql_native_password | localhost |
							+------------------+-------------------------------------------+-----------------------+-----------+
                            4 rows in set (0.00 sec)
In this example, you can see that the root user does in fact authenticate using the auth_socket plugin. To configure the root account to authenticate with a password, run the following ALTER USER command. Be sure to change password to a strong password of your choosing:
mysql> ALTER USER 'root'@'localhost' IDENTIFIED WITH mysql_native_password BY 'password';
Then, run FLUSH PRIVILEGES which tells the server to reload the grant tables and put your new changes into effect:
mysql> FLUSH PRIVILEGES;
Check the authentication methods employed by each of your users again to confirm that root no longer authenticates using the auth_socket plugin:
mysql> SELECT user,authentication_string,plugin,host FROM mysql.user;
							Output
							+------------------+-------------------------------------------+-----------------------+-----------+
							| user             | authentication_string                     | plugin                | host      |
							+------------------+-------------------------------------------+-----------------------+-----------+
							| root             | *3636DACC8616D997782ADD0839F92C1571D6D78F | mysql_native_password | localhost |
							| mysql.session    | *THISISNOTAVALIDPASSWORDTHATCANBEUSEDHERE | mysql_native_password | localhost |
							| mysql.sys        | *THISISNOTAVALIDPASSWORDTHATCANBEUSEDHERE | mysql_native_password | localhost |
							| debian-sys-maint | *CC744277A401A7D25BE1CA89AFF17BF607F876FF | mysql_native_password | localhost |
							+------------------+-------------------------------------------+-----------------------+-----------+
                            4 rows in set (0.00 sec)
You can see in this example output that the root MySQL user now authenticates using a password. Once you confirm this on your own server, you can exit the MySQL shell:
mysql> exit
							Note: After configuring your root MySQL user to authenticate with a password, you’ll no longer be able to access MySQL with the sudo mysql command used previously. Instead, you must run the following:
							$ mysql -u root -p
                            After entering the password you just set, you will see the MySQL prompt.
At this point, your database system is now set up and you can move on to installing PHP.
Step 3 – Installing PHP and Configuring Nginx to Use the PHP Processor
You now have Nginx installed to serve your pages and MySQL installed to store and manage your data. However, you still don’t have anything that can generate dynamic content. This is where PHP comes into play.
Since Nginx does not contain native PHP processing like some other web servers, you will need to install php-fpm, which stands for “fastCGI process manager”. We will tell Nginx to pass PHP requests to this software for processing.
$ sudo add-apt-repository universe
Install the php-fpm module along with an additional helper package, php-mysql, which will allow PHP to communicate with your database backend. The installation will pull in the necessary PHP core files. Do this by typing:
$ sudo apt install php-fpm php-mysql
You now have all of the required LEMP stack components installed, but you still need to make a few configuration changes in order to tell Nginx to use the PHP processor for dynamic content.
This is done on the server block level (server blocks are similar to Apache’s virtual hosts). To do this, open a new server block configuration file within the /etc/nginx/sites-available/ directory. In this example, the new server block configuration file is named example.com, which you need to replace with your domain name of your choice.
$ sudo nano /etc/nginx/sites-available/example.com
By editing a new server block configuration file, rather than editing the default one, you’ll be able to easily restore the default configuration if you ever need to.
Add the following content, which was taken and slightly modified from the default server block configuration file, to your new server block configuration file:
							server {
									listen 80;
									root /var/www/html;
									index index.php index.html index.htm index.nginx-debian.html;
									server_name example.com www.example.com;
									location / {
										try_files $uri $uri/ /index.php?/$request_uri;
								}
								location ~ \.php$ {
											include snippets/fastcgi-php.conf;
											fastcgi_pass unix:/var/run/php/php7.2-fpm.sock;
								}
								location ~ /\.ht {
											deny all;
								}
                            }
Please use the correct PHP Version number above based on your operating system on teh server. For example for Ubuntu 20.04 PHP version should be 7.4 instead of 7.2 in the file above.
Here’s what each of these directives and location blocks do:
After adding this content, save and close the file. Enable your new server block by creating a symbolic link from your new server block configuration file (in the /etc/nginx/sites-available/ directory) to the /etc/nginx/sites-enabled/ directory:
$ sudo ln -s /etc/nginx/sites-available/example.com /etc/nginx/sites-enabled/
Then, unlink the default configuration file from the /sites-enabled/ directory:
$ sudo unlink /etc/nginx/sites-enabled/default
$ sudo ln -s /etc/nginx/sites-available/default /etc/nginx/sites-enabled/
Test your new configuration file for syntax errors by typing:
$ sudo nginx -t
If any errors are reported, go back and recheck your file before continuing.
When you are ready, reload Nginx to make the necessary changes:
$ sudo systemctl reload nginx
This concludes the installation and configuration of your LEMP stack. However, it’s prudent to confirm that all of the components can communicate with one another.
Step 4 – Creating a PHP File to Test Configuration
Your LEMP stack should now be completely set up. You can test it to validate that Nginx can correctly hand .php files off to the PHP processor.
To do this, use your text editor to create a test PHP file called info.php in your document root:
$ sudo nano /var/www/html/info.php
Enter the following lines into the new file. This is valid PHP code that will return information about your server:
/var/www/html/info.php
When you are finished, save and close the file.
Now, you can visit this page in your web browser by visiting your server’s domain name or public IP address followed by /info.php:
http://your_server_domain_or_IP/info.php
You should see a web page that has been generated by PHP with information about your server:
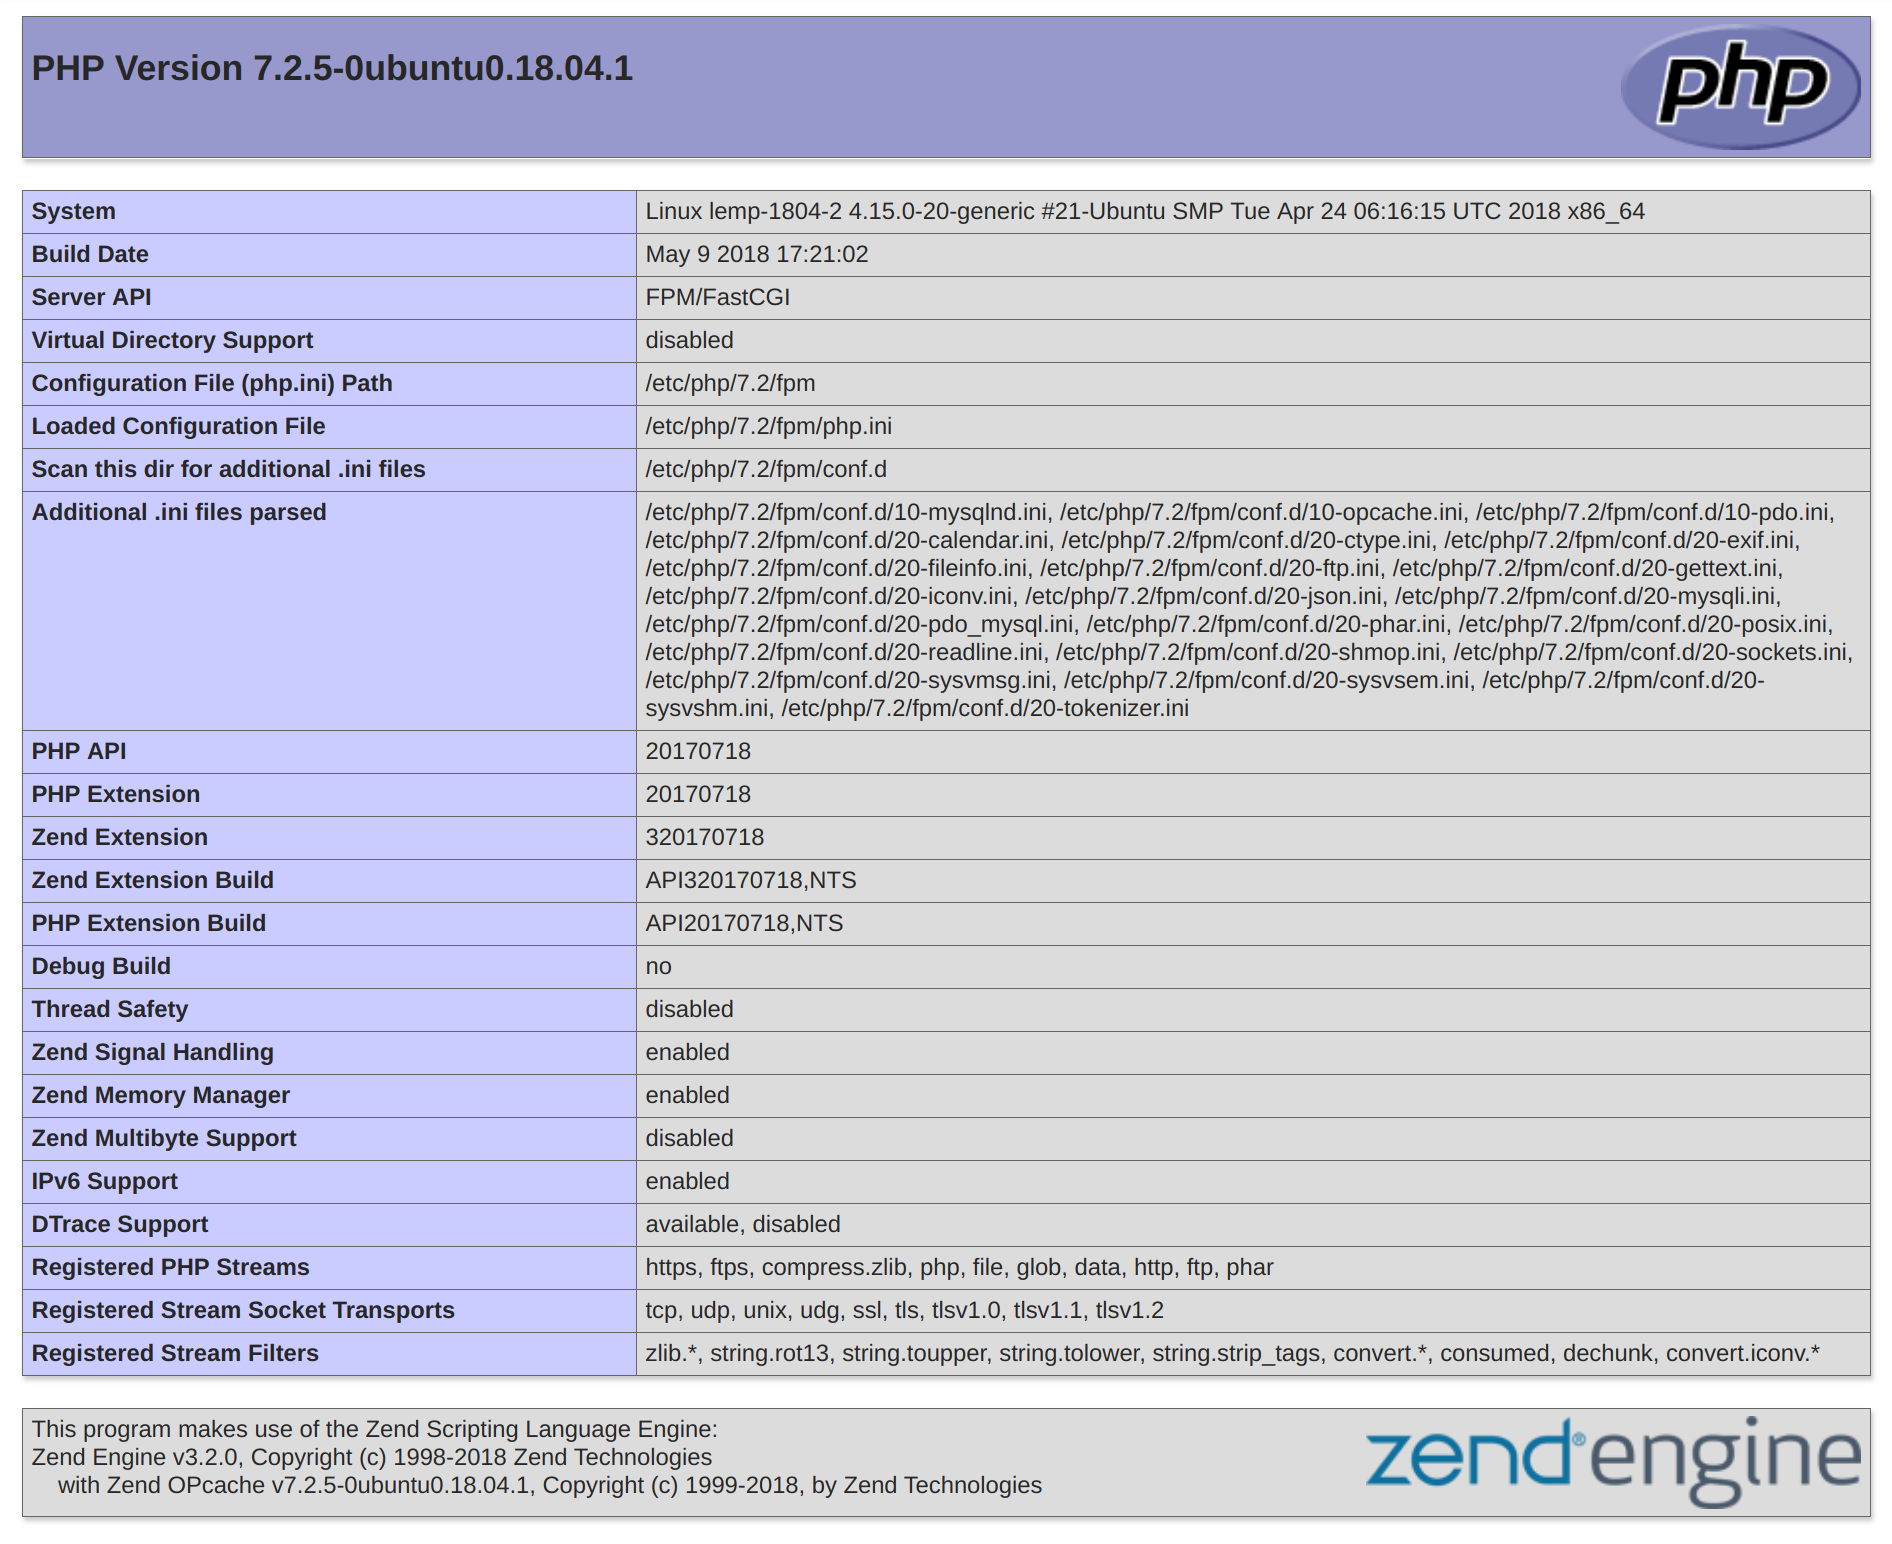
If you see a page that looks like this, you’ve set up PHP processing with Nginx successfully.
After verifying that Nginx renders the page correctly, it’s best to remove the file you created as it can actually give unauthorized users some hints about your configuration that may help them try to break in. You can always regenerate this file if you need it later.
For now, remove the file by typing:
$ sudo rm /var/www/html/info.php
With that, you now have a fully-configured and functioning LEMP stack on your Ubuntu 18.04 server.
Conclusion
A LEMP stack is a powerful platform that will allow you to set up and serve nearly any website or application from your server.
There are a number of next steps you could take from here. For example, you should ensure that connections to your server are secured. To this end, you could secure your Nginx installation with Let’s Encrypt. By following this guide, you will acquire a free TLS/SSL certificate for your server, allowing it to serve content over HTTPS.
Securing Server
Using Free Let’s Encrypt SSL/TLS Certificates with NGINX
It’s well known that SSL/TLS encryption of your website leads to higher search rankings and better security for your users. However, there are a number of barriers that have prevented website owners from adopting SSL.
Two of the biggest barriers have been the cost and the manual processes involved in getting a certificate. But now, with Let’s Encrypt, they are no longer a concern. Let’s Encrypt makes SSL/TLS encryption freely available to everyone.
Let’s Encrypt is a free, automated, and open certificate authority (CA). Yes, that’s right: SSL/TLS certificates for free. Certificates issued by Let’s Encrypt are trusted by most browsers today, including older browsers such as Internet Explorer on Windows XP SP3. In addition, Let’s Encrypt fully automates both issuing and renewing of certificates.
In this blog post, we cover how to use the Let’s Encrypt client to generate certificates and how to automatically configure NGINX Open Source and NGINX Plus to use them.
How Let’s Encrypt Works
Before issuing a certificate, Let’s Encrypt validates ownership of your domain. The Let’s Encrypt client, running on your host, creates a temporary file (a token) with the required information in it. The Let’s Encrypt validation server then makes an HTTP request to retrieve the file and validates the token, which verifies that the DNS record for your domain resolves to the server running the Let’s Encrypt client.
Prerequisites
Before starting with Let’s Encrypt, you need to:
Now you can easily set up Let’s Encrypt with NGINX Open Source or NGINX Plus (for ease of reading, from now on we’ll refer simply to NGINX).
Note: We tested the procedure outlined in this blog post on Ubuntu 16.04 (Xenial).
Step 1 - Download the Let’s Encrypt Client
First, download the Let’s Encrypt client, certbot:
                            $ apt-get update

                            //Command for Ubuntu 18.x
                            $ sudo apt-get install certbot
                            $ apt-get install python-certbot-nginx

                            //Command for Ubuntu 20.x
                            $ sudo apt install certbot python3-certbot-nginx
Step 2 - Set Up NGINX
certbot can automatically configure NGINX for SSL/TLS. It looks for and modifies the server block in your NGINX configuration that contains a server_name directive with the domain name you’re requesting a certificate for. In our example, the domain is www.example.com.
- 1. Assuming you’re starting with a fresh NGINX install, use a text editor to create a file in the /etc/nginx/conf.d directory named domain‑name.conf (so in our example, www.example.com.conf).
- 2. Specify your domain name (and variants, if any) with the server_name directive:
                             server {
                                listen 80 default_server;
                                listen [::]:80 default_server;
                                root /var/www/html;
                                server_name example.com www.example.com;
                             }
- 3. Save the file, then run this command to verify the syntax of your configuration and restart NGINX:
$ nginx -t && nginx -s reload
Step 3 - Obtain the SSL/TLS Certificate
The NGINX plug‑in for certbot takes care of reconfiguring NGINX and reloading its configuration whenever necessary.
- 1. Run the following command to generate certificates with the NGINX plug‑in:
$ sudo certbot --nginx -d example.com -d www.example.com
- 2. Respond to prompts from certbot to configure your HTTPS settings, which involves entering your email address and agreeing to the Let’s Encrypt terms of service.
- When certificate generation completes, NGINX reloads with the new settings. certbot generates a message indicating that certificate generation was successful and specifying the location of the certificate on your server.
                            Congratulations! You have successfully enabled https://example.com and https://www.example.com

                            -------------------------------------------------------------------------------------
                            IMPORTANT NOTES:

                            Congratulations! Your certificate and chain have been saved at:
                            /etc/letsencrypt/live/example.com/fullchain.pem
                            Your key file has been saved at:
                            /etc/letsencrypt/live/example.com//privkey.pem
                            Your cert will expire on 2017-12-12.
Note: Let’s Encrypt certificates expire after 90 days (on 2017-12-12 in the example). For information about automatically renenwing certificates, see Automatic Renewal of Let’s Encrypt Certificates below.
If you look at domain‑name.conf, you see that certbot has modified it:
                            server {
                                listen 80 default_server;
                                listen [::]:80 default_server;
                                root /var/www/html;
                                server_name  example.com www.example.com;

                                listen 443 ssl; # managed by Certbot

                                # RSA certificate
                                ssl_certificate /etc/letsencrypt/live/example.com/fullchain.pem; # managed by Certbot
                                ssl_certificate_key /etc/letsencrypt/live/example.com/privkey.pem; # managed by Certbot

                                include /etc/letsencrypt/options-ssl-nginx.conf; # managed by Certbot

                                # Redirect non-https traffic to https
                                if ($scheme != "https") {
                                    return 301 https://$host$request_uri;
                                } # managed by Certbot
                            }
Step 4 - Automatically Renew Let’s Encrypt Certificates
Let’s Encrypt certificates expire after 90 days. We encourage you to renew your certificates automatically. Here we add a cron job to an existing crontab file to do this.
- 1. Open the crontab file. Use the nano editor if prompted. Generally its option 1
$ crontab -e
- 2. Add the certbot command to run daily. In this example, we run the command every day at noon. The command checks to see if the certificate on the server will expire within the next 30 days, and renews it if so. The --quiet directive tells certbot not to generate output.
0 12 * * * /usr/bin/certbot renew --quiet
- 3. Save and close the file. All installed certificates will be automatically renewed and reloaded.
Summary
We’ve installed the Let’s Encrypt agent to generate SSL/TLS certificates for a registered domain name. We’ve configured NGINX to use the certificates and set up automatic certificate renewals. With Let’s Encrypt certificates for NGINX and NGINX Plus, you can have a simple, secure website up and running within minutes.
Database Walkthrough
Installing PHP MYADMIN
sudo apt update // to update your packages
sudo apt install phpmyadmin // to install phpmyadmin
apache2 // (direct press enter)
sudo ln -s /usr/share/phpmyadmin /var/www/html // to create shortcut key for phpmyadmin at /var/www/html/
Now open phpmyadmin in the browser // You can login by username and password, which you set before.
Next step is to create a database and name it as you like. Then select the database and import the data .sql file using the file included in your folder.
Steps to Install the Software
1. Login to your FTP using Filezilla or other FTP you have.
2. Based on the kind of hosting, you may need to use SFTP or normal FTP Connection. If you use a cloud server + Filezilla, select SFTP & enter the same SSH credentials which you use to login in the terminal.
3. The admin code is built on codeigniter which uses PHP as their base framework.
4. Now upload this folder in your ftp public folder. For Cloud hosting it is generally /var/www/html and for shared hosting or cpanel hosting it is public_html ( you can make folder with name like Admin and upload the content of the public-html and not the folder ).
5. Once uploading is finished below are the parameters to change,
- 1. Open Application -> Config -> config.php. This is the file where you need to change all settings.
- 2. Change the database credentials in database.php file located under application > config
- 3. Change below items
- 2. Change the branding and extra field labels in constants.php file located under application > config
Some important items before setting up
In case you face problem uploading images please give permission by typing below command
                        cd ~
                        web_folder='/var/www/html/'
                        chown www-data:www-data $web_folder -R; find $web_folder -type f -print0 |xargs -0 chmod 644;

                        find $web_folder -type d -print0 |xargs -0 chmod 755;

                        sudo chown -R root:root  /var/www/html
                        systemctl restart php7.3-fpm.service
                        Edit php.ini

                        sudo nano /etc/php/7.3/fpm/php.ini
                        Please change below items
                        memory_limit = 256M
                        Post_max_size = 200M
                        upload_max_filesize = 100M
                        max_execution_time = 3600
                        Edits in NGINX

                        sudo nano /etc/nginx/nginx.conf
                        (Copy the following line below http parenthesis)

                        client_max_body_size 100M;
                        Restart Nginx
                        sudo service nginx reload
To do this, please change the database settings by clicking on your server host, go to more> server variables > search for sql_mode > edit > remove "ONLY_FULL_GROUP_BY"
We expect that the Buyer of our product has knowledge of development and frameworks the product is built on. If you do not have knowledge of PHP or iOnic, you may need help. We offer installation and support for additional fee should you wish to take our help.
If you need more detailed Step-By-Step guide, please click here Step-by-Step-Installation-Guide.pdf
Support Desk
Please remember you have purchased a very affordable Mobile App with backend and you have not paid for a full-time web design agency. Occasionally we will help with small tweaks, but these requests will be put on a lower priority due to their nature. Support is also 100% optional and we provide it for your connivence, so please be patient, polite and respectful.
Please visit our profile page or ask question @v1technologies
Support for my items includes:- * Responding to questions or problems regarding the item and its features
- * Fixing bugs and reported issues
- * Providing updates to ensure compatibility with new software versions
- * Customization and installation services
- * Support for third party software and plug-ins
- * Make sure your question is a valid Apps Issue and not a customization request.
- * Make sure you have read through the documentation and any related guides before asking support on how to accomplish a task.
- * Try disabling any active plugins to make sure there isn't a conflict with a plugin. And if there is this way you can let us know.
- * If you have customized your theme and now have an issue, back-track to make sure you didn't make a mistake. If you have made changes and can't find the issue, please provide us with your changelog.
- * Almost 80% of the time we find that the solution to people's issues can be solved with a simple "Google Search". You might want to try that before seeking support. You might be able to fix the issue yourself much quicker than we can respond to your request.
- * Make sure to state the name of the App you are having issues with when requesting support via codecanyon.
Files & Sources
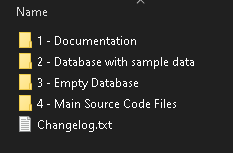
These is the primary ionic project source code
- 1. Application folder - this has the whole software
- 2. Uploads folder - this is where all your images are stored.
- 3. Config Foler - config, constants and database files are included here.
These is the primary Backend Code-Ignitor PHP Project.
- 1. application -> controller -> RestAPI.php has list of all API's End-point.
- 2. application -> views -> GUI for Admin panel.
- 3. application -> config -> All required configuration's options.
- Empty Database - This is emepty database, you can use this for production.
- Database with Sample Data Entry - We have shipped sample items and their images for you to demo your investors or client's.
Full OFFLINE documentation is also included.
Troubleshooting & FAQs
Overview
As with any other development project, it is likely that you may find errors or compatibility issues based on various factors like version of ionic, version of xcode, third party plugin updates, version of android studio, other compatibility issues.
Most of these issues can be resolved by simple google search because the components we have used are very generic.
We have listed below some issues that have been reported and resolved
Can this be installed on a Shared Hosting with and without Cpanel access?
Yes, the product is designed to work with Shared Hosting too.
The way to do this is to copy the source codes to the public_html folder. Then create a database and import the database and connect it to the files using the steps above.
Follow the steps above to make any changes and edits in the environments file. Thats you done!
Inner Pages on Website Not Working
The above documentation is based on nginx, and as you may be aware, ".htaccess" does not work very well with nginx.
You may need to tweak the location / { parameter in your block configuration file as appropriate based on your server settings.
Dont forget to reload the nginx after making the changes.
On shared hosting (cpanel hosting): If you are able to open the home page but not able to open the inner pages, this is most commonly an issue with your .htaccess file in your root folder. Please try the RewriteBase / in your .htaccess file located in the main root folder. See example below:
RewriteEngine On
RewriteBase /
RewriteCond %{REQUEST_FILENAME} !-f
RewriteCond %{REQUEST_FILENAME} !-d
RewriteRule ^(.*)$ index.php/$1 [L]
Changes not visible even after uploading the files.
if you are using any DNS management service like "Cloudflare", you may not see the changes because of the cache issues.
You may need to Purge Cache from your Cloudflare dashboard for your domain.
Remember to purge everything before you refresh the page to see the changes.
Version History (Changelog)
You can find the version history (changelog.txt) file in the main folder or you can check changelog on theme sale page.
Once again, thank you so much for purchasing this theme. As I said at the beginning, I'd be glad to help you if you have any questions relating to this theme. No guarantees, but I'll do my best to assist. If you have a more general question relating to the themes on codecanyon, you might consider visiting the forums and asking your question in the "Item Discussion" section.
Changelog
                                -----------------------------------------------------------------------------------------
                                Version 3.0 - 14 Sep 2022
                                -----------------------------------------------------------------------------------------

                                - Appointment Date Feature Added


                                -----------------------------------------------------------------------------------------
                                Version 2.0 - 04 Sep 2022
                                -----------------------------------------------------------------------------------------

                                - Multiple Leads Adding Capability Added
Copyright and license
Code released under the Single License use. Violation or Infringement of the licence and copyright may lead to disputes. For multiple uses, please buy additional copies of the software.
For more information about copyright and license check V1 Technologies.